For some reason I decided to sharpen drills this morning. In DevonThink I found an article by Harold Hall on sharpening drills. The article was "Sharpening Twist Drills" in MEW vol. 141, page 12. It was printed and a copy was stored with the sharpening station.
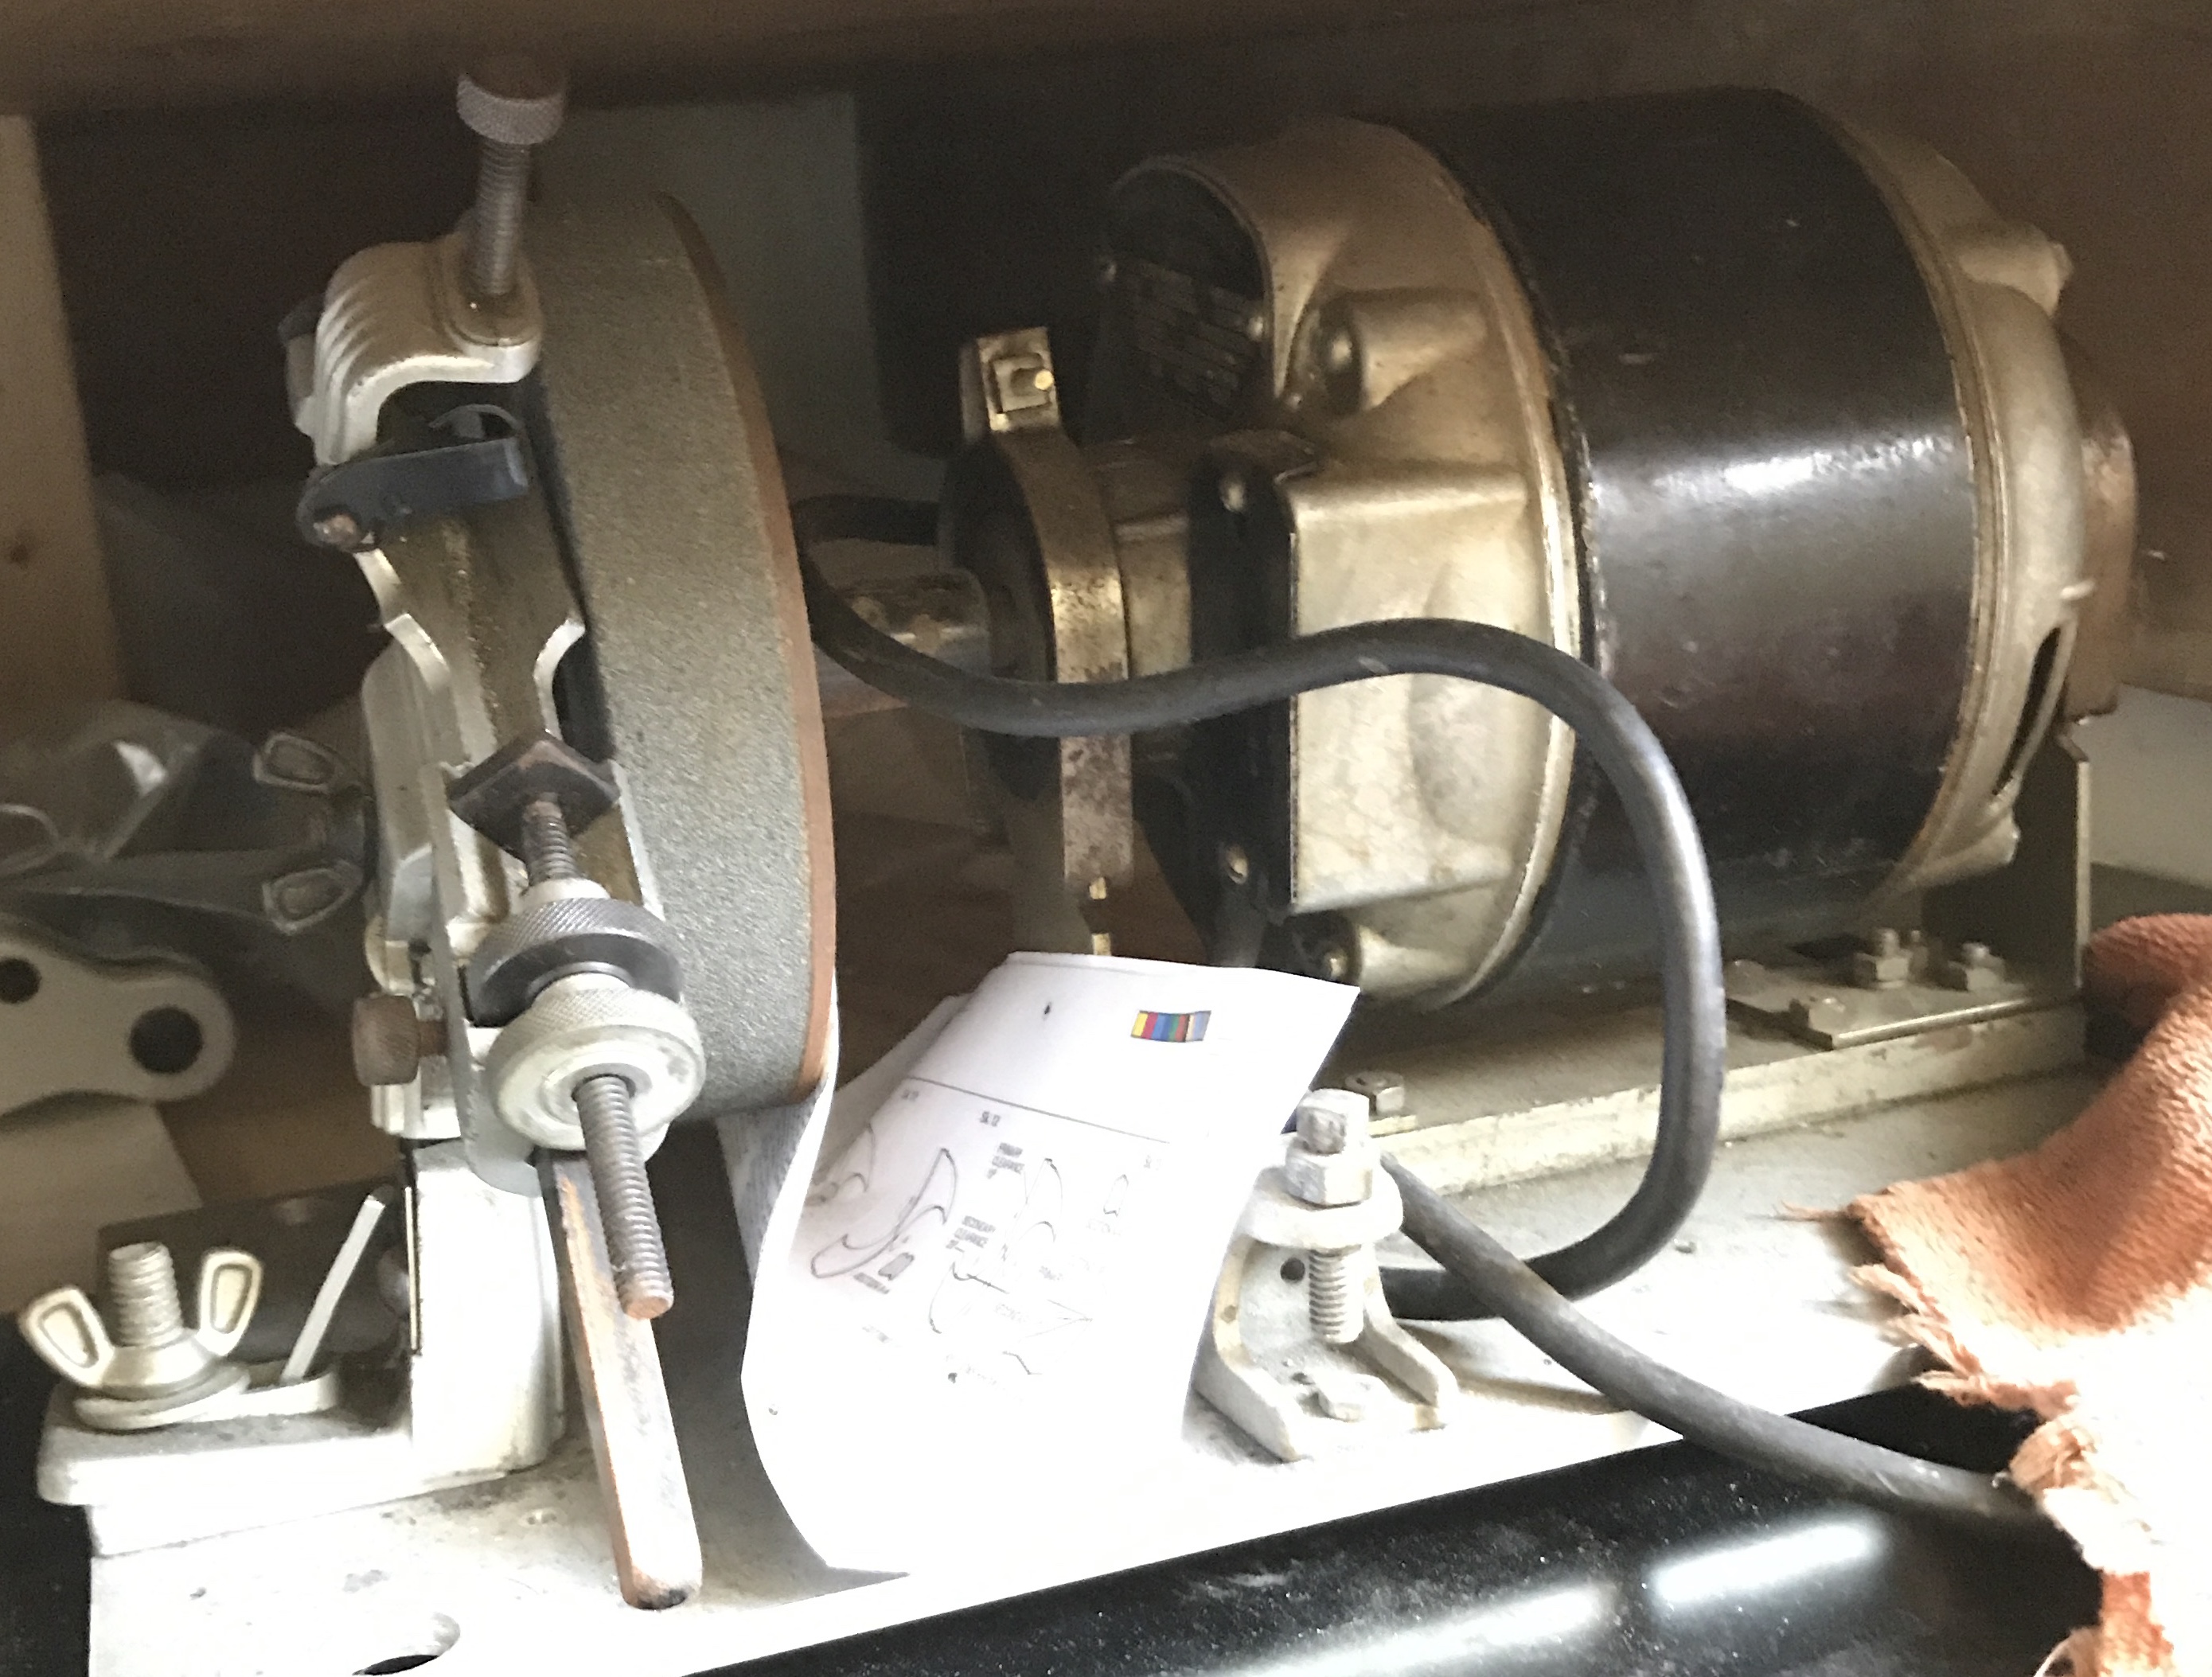
The sharpening station was from Uncle Bob. After reading the article I set up the jig somewhat randomly and sharpened a drill. The chisel, or center line was at an angle of 90° with respect the two straight cutting edges. This angle is supposed to be 130°. The jig is simple to use. The jig to grinding wheel distance is set. A drill is inserted. The drill is set so that it just touches the wheel. The straight cutting edges are set vertical or aligned with the little pointer. The clamp on the drill is tightened as well as the lock nut for distance adjustments. The screw to tighten the clamp can be see at the very top of the jig. The knurled lock nut is the bottom most nut on the jig's screw.
The entire jig is turned back and forth swinging the tip of the drill past the wheel. In the picture that would be a 90° clockwise turn followed by turning back to the starting position seen in the photo.The lock nut is loosened and the clamp is loosened. The drill is moved forward about 1/4 turn of the distance adjustment knob. This is the darker silver nut just above the lock nut. The clamps are retightened making sure the cutting edge remains vertical. Another grinding pass is made. Things are loosened, the drill is rotated 180° so the other cutting edge is vertical. The other face is sharpened.
The key to sharpening is twofold. The first is setting the overall angle of the jig, to match the angle of the twist drill. Nearly all are 118°. There is a setting on the jig for 59° and this was the correct setting for all of the drills sharpened. The second critical factor is the angle of the chisel. As mentioned above the first drill I sharpened was left with a 90° chisel angle relative to the straight cutting edges. This means the drill bit tip is too far away from the center of rotation. The jig was shifted closer to the wheel by loosening the wing nut at the base (far left in picture) and pushing it forward, into the wheel. To get a 130° chisel this needs to go in almost as far as possible. The cutting edge pointer was about 1/8" from the grinding wheel.
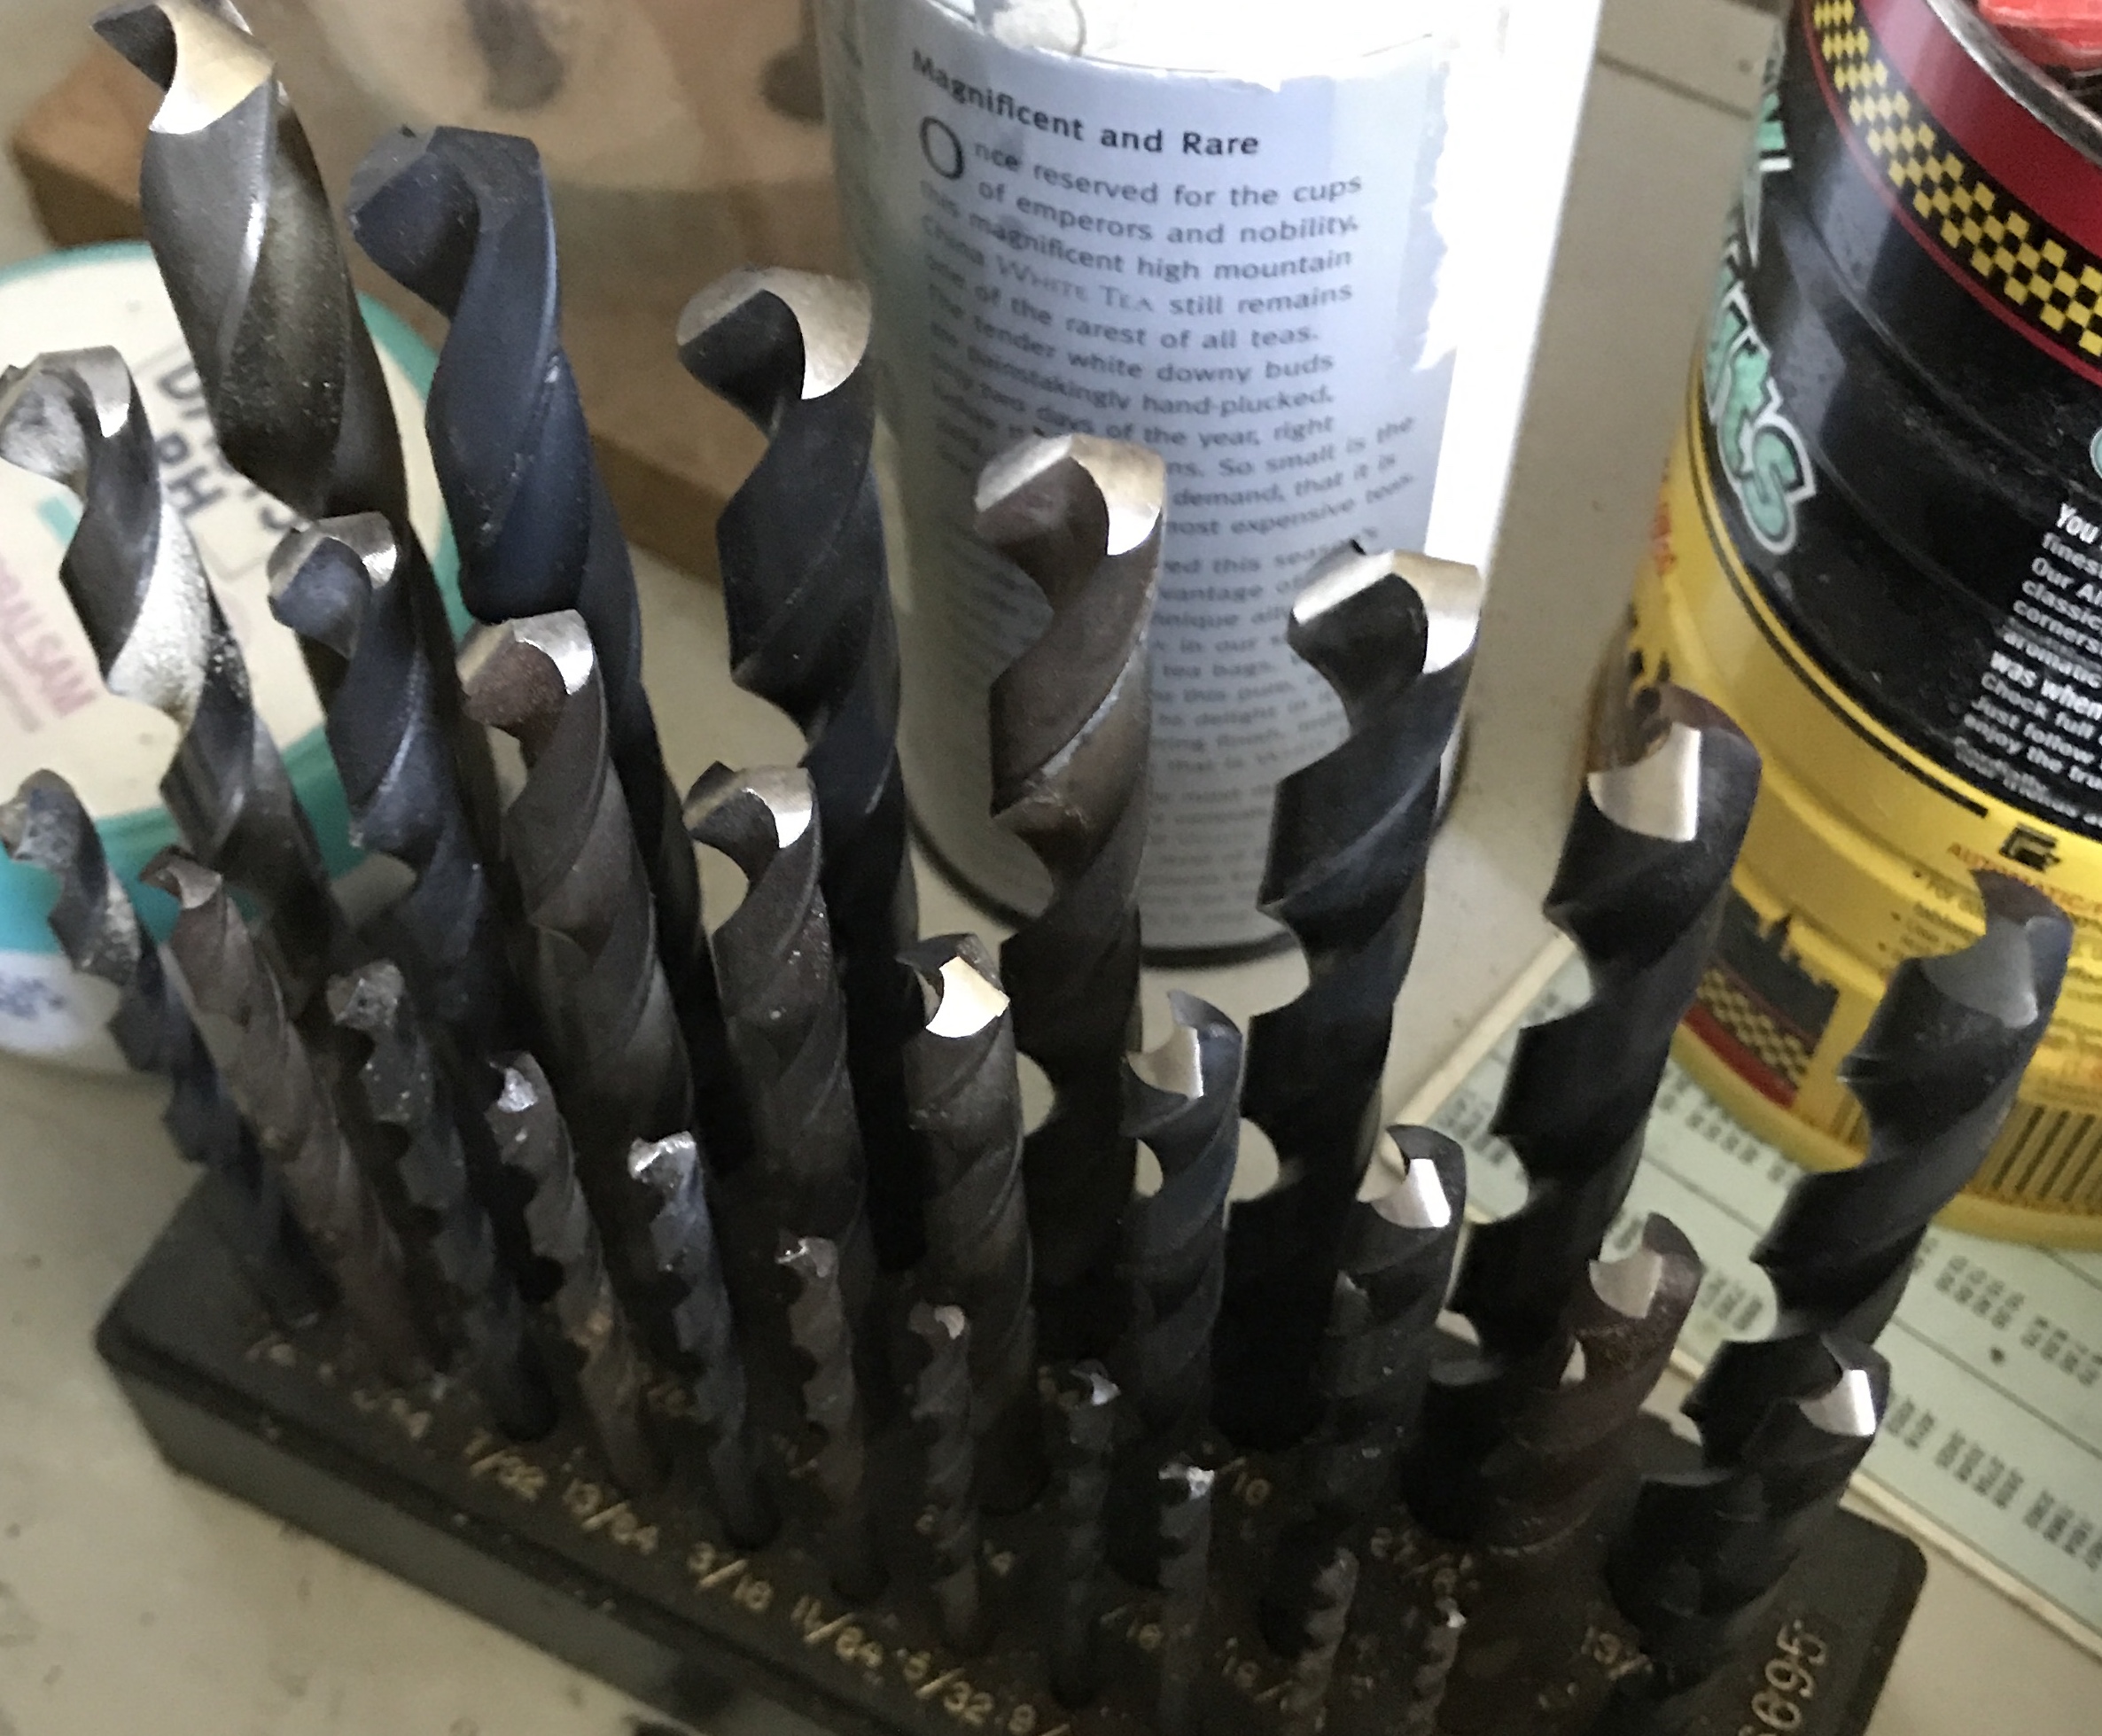
A small scrap of aluminum was prepared that has a scratch on it at 130° relative to the sides. It can be held next to a drill to check the chisel angle. It was left with the sharpening jig. (It can be seen just to the right of the wing nut leaning up against the jig.) Once this distance was set it was correct for all drills sharpened. I started with the drills on the drill cabinet. The 1/2" through 17/64" drills were all sharpened. Three large drills from the coffee can were also sharpened. The last drill sharpened was a 3/4" drill from a wooden box inside the cabinet that was noted as dull. A bit of oil was put on the sharpened drills to inhibit rusting. Two of the larger drills were not sharpened. These two have the black tips. They had never been used and felt sharp.
I do not know how well the jig works on smaller drills. I did not try any smaller than 17/64". I just found an image of the cover of the original instructions. This claims the jig will work for drills from 1/8" to 3/4". I just didn't know how low I could go!